First steps
Go from a downloaded app to a working local chat without learning model formats, ports, or inference engines first.
Find one workflow
Filter this collection by name, outcome, provider, engine, channel, mode, or command.
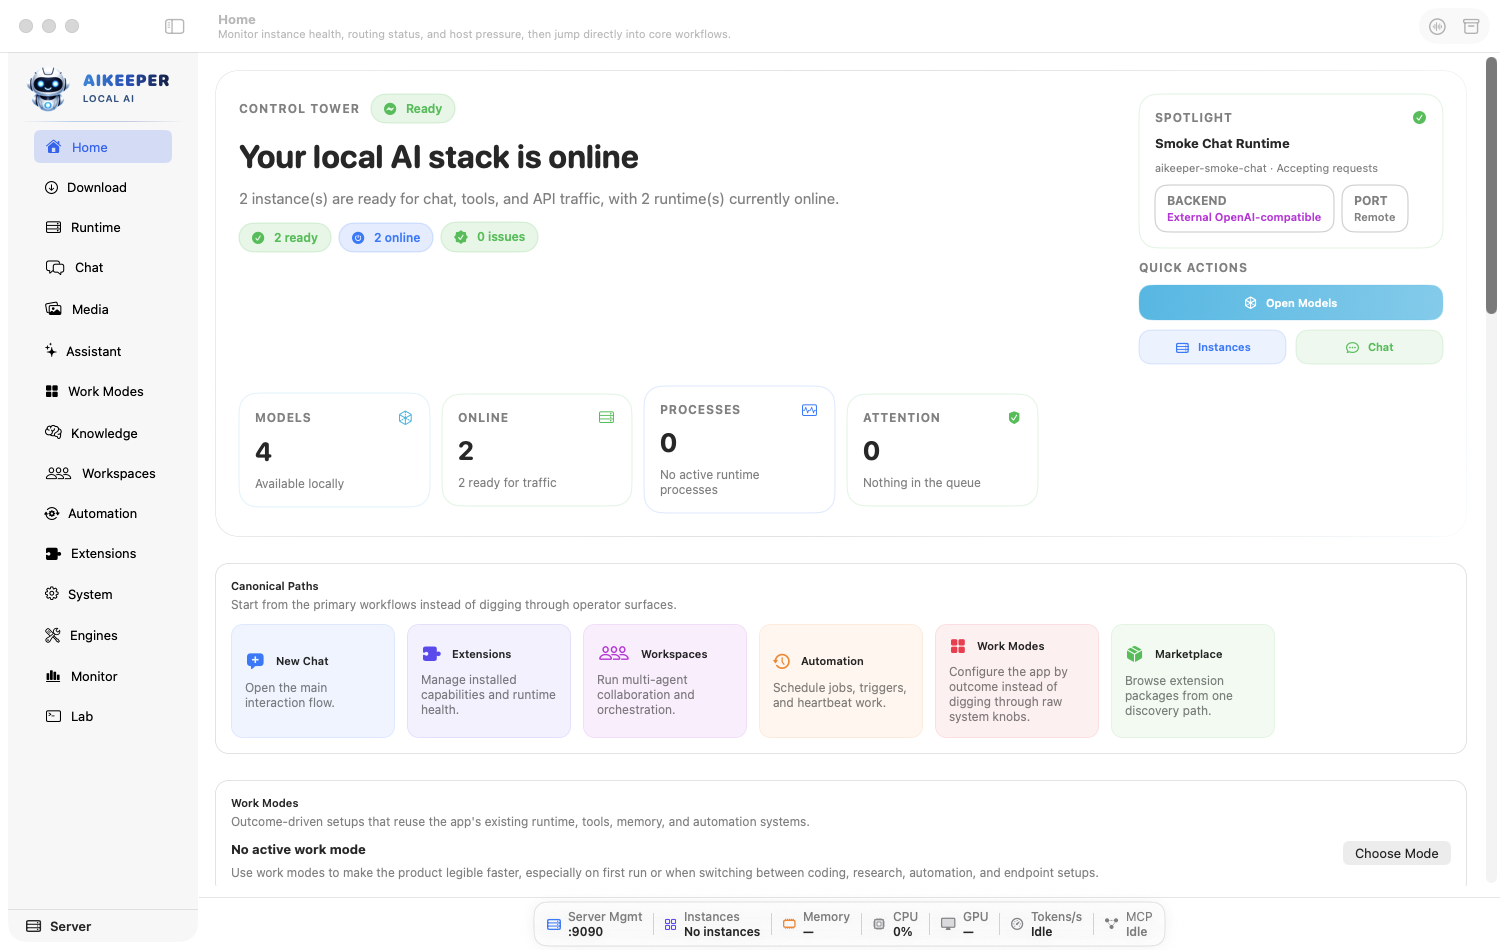
Install, open, and complete first-run setup
Move the app into Applications, complete macOS safety prompts, and use the two-step Server or Client setup.
Before you start
- An Apple Silicon Mac running macOS 14 or later.
- The Ai Keeper disk image downloaded from the official site.
Open the downloaded .dmg, then drag Ai Keeper into Applications.
Running from Applications lets updates, permissions, and managed engine paths behave predictably.
Open Applications in Finder and double-click Ai Keeper. If macOS asks whether you trust the app, confirm only if the publisher and download source are the ones you expect.
Allow notifications only if you want completion and automation alerts. Microphone, speech, camera, and screen-recording access can wait until a workflow needs them.
On Welcome, choose Server when this Mac will run models, or Client when it will control another Ai Keeper host.
In Server mode, use Start Chat to accept the recommended first path: one engine, one model, then Chat. Choose the optional Work Mode wizard only when you want its five-step configuration.
In Client mode, enter the remote management address and key on Connect. Finish setup only after reachability succeeds.
You are done when
Server mode reaches the 13-hub Home window; Client mode reaches the seven-hub client window with Administration instead of local model-management hubs.Your first 30 minutes
Run the health check, install the required engine pieces, download a recommended model, start it, and send one message.
Before you start
- Ai Keeper is open.
- A stable internet connection for the first engine and model download.
- At least 10 GB of free disk space; larger models need much more.
Open Activity > Health and run Diagnostics or Doctor. Read any red item before continuing.
A missing command-line tool is much easier to fix before a multi-gigabyte model download.
Open Engines and click Fix Required. Let the operation finish; use Output Log only if a row reports an error.
Open Settings, search for Storage, and confirm the models folder is on a disk with enough free space.
Open Models > Downloads, find a small Apple-Silicon-compatible chat model, and download it. Review its findings under Trust before first launch.
When the download finishes, open Runtime > Instances. Select the new instance and click Start. Leave the engine on Automatic.
Wait until the instance says Ready. Open Chat, select that model, type Reply with exactly: local model ready, and send.
You are done when
Chat streams a reply from the selected local instance, and Runtime still shows that instance as Ready.Choose Server mode or Client mode
Decide whether this Mac runs the models or controls another Ai Keeper Mac.
Before you start
- Use Server mode for a standalone Mac.
- For Client mode, another Ai Keeper Mac must already be running as a reachable server.
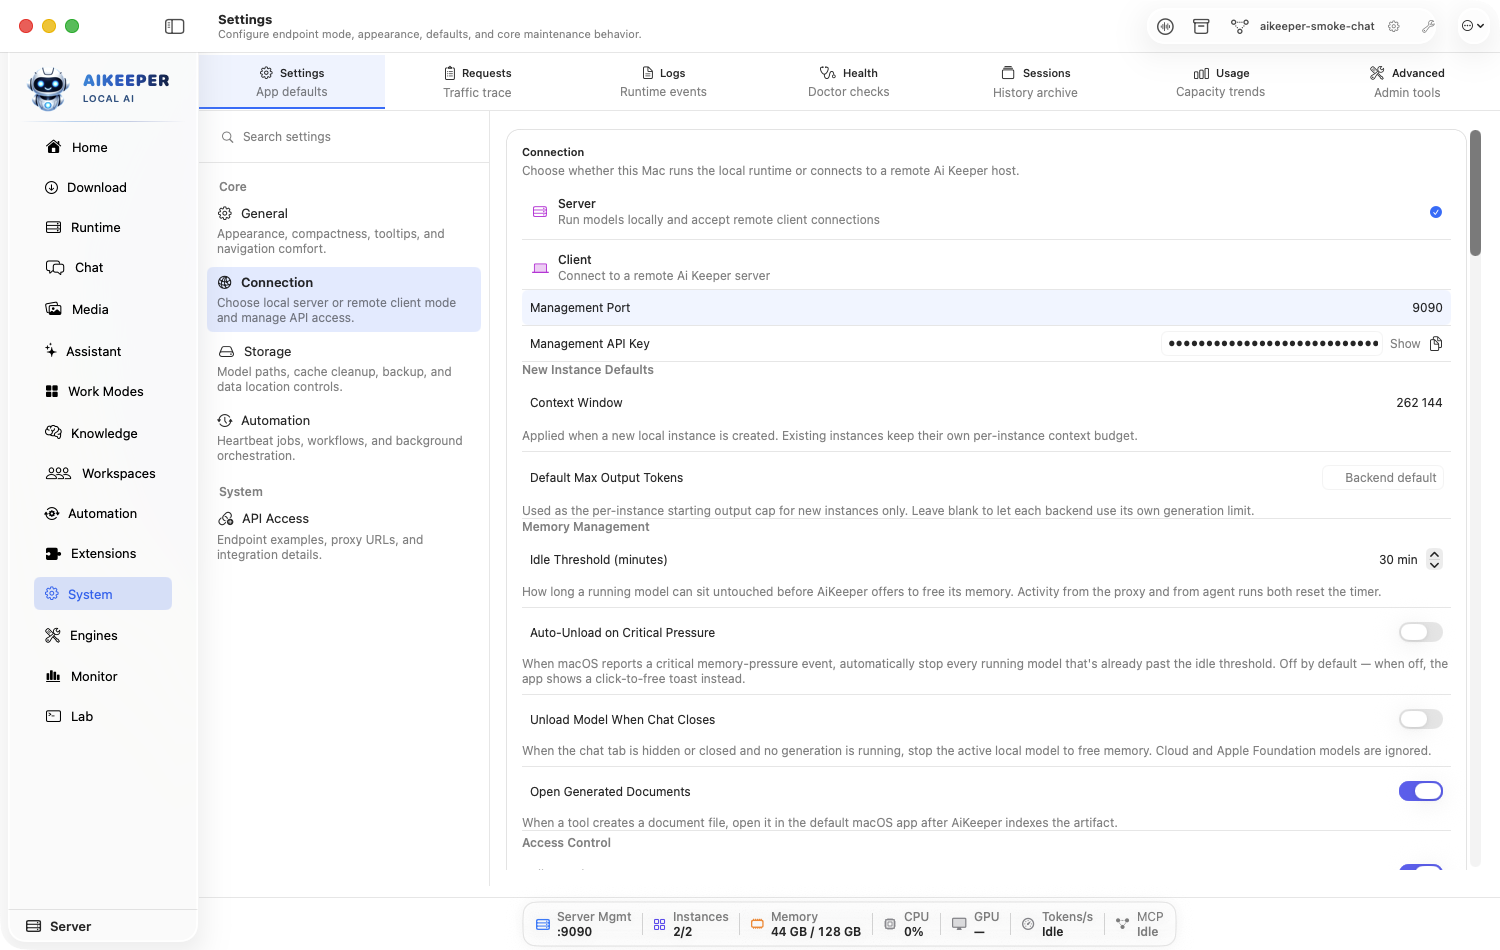
Open Settings > Connection.
Choose Server if this Mac will download engines, hold models, and run inference. This is the normal first-Mac choice.
Choose Client only if another Mac is the workhorse. Enter that server's management address and management API key.
Save, then return to Home and wait for the connection summary to refresh.
You are done when
Server mode shows local runtime controls. Client mode reports the remote host as reachable and intentionally hides local-only Downloads, Models, Engines, and Dependencies surfaces.Apply a Work Mode
Use an outcome-based preset to configure sensible model, memory, tool, trust, and automation defaults.
Before you start
- At least one Ready chat model is helpful.
- Some modes need optional packages; the mode card will show them.
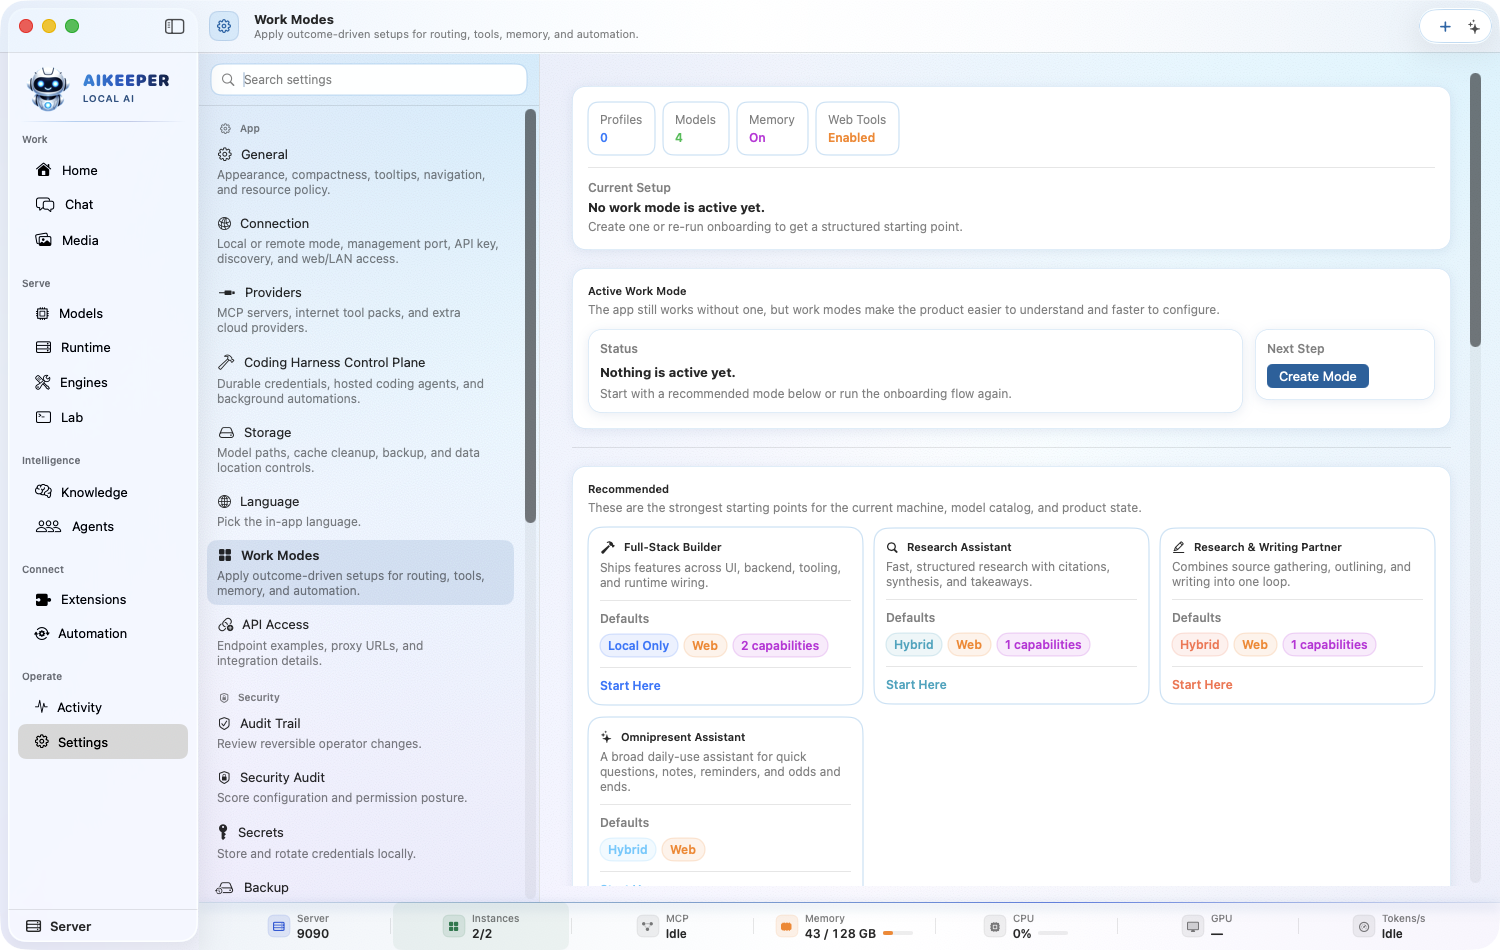
Open Settings, search for Work Modes, and pick the outcome closest to your job, such as research, coding, writing, or private local work.
Read the mode summary, especially its autonomy, web, memory, and tool choices.
Open the mode's requirements. Install or resolve only items marked missing; do not add every optional package.
Click Apply. Review any confirmation describing settings the mode will change.
Open the destination suggested by the mode and run its starter task.
You are done when
The mode is marked active or applied, its health shows no blocking requirement, and the starter surface opens with the expected defaults.Find your way around the current hubs
Learn the one-sentence job of every primary destination so you always know where to start.
Before you start
- Ai Keeper is open.
Use Home for status; Models to download and review model trust; Runtime to run models; and Engines to install their software.
Use Chat for conversations plus Assistant, Voice, Browser, and Canvas tools; use Media for local images, video, music, and enhancement.
Use Knowledge for context and sources, Agents for agents/workspaces/runs, and Automation for scheduled or event-driven work.
Use Extensions for channels, plugins, MCP, skills, and ClawHub; Lab for API, QA, transcription, and Harness experiments; Activity for traffic and diagnostics; and Settings for configuration and operator tools.
Press ⌘K in this manual whenever a label is unfamiliar.