Images, video, voice, screen, and camera
Install the managed media environment, generate FLUX images and LTX clips, add custom checkpoints, calibrate speech, and grant device permissions only when needed.
Find one workflow
Filter this collection by name, outcome, provider, engine, channel, mode, or command.
Install or repair Media Studio
Create the app-managed Python environment used by mflux image and LTX video workflows.
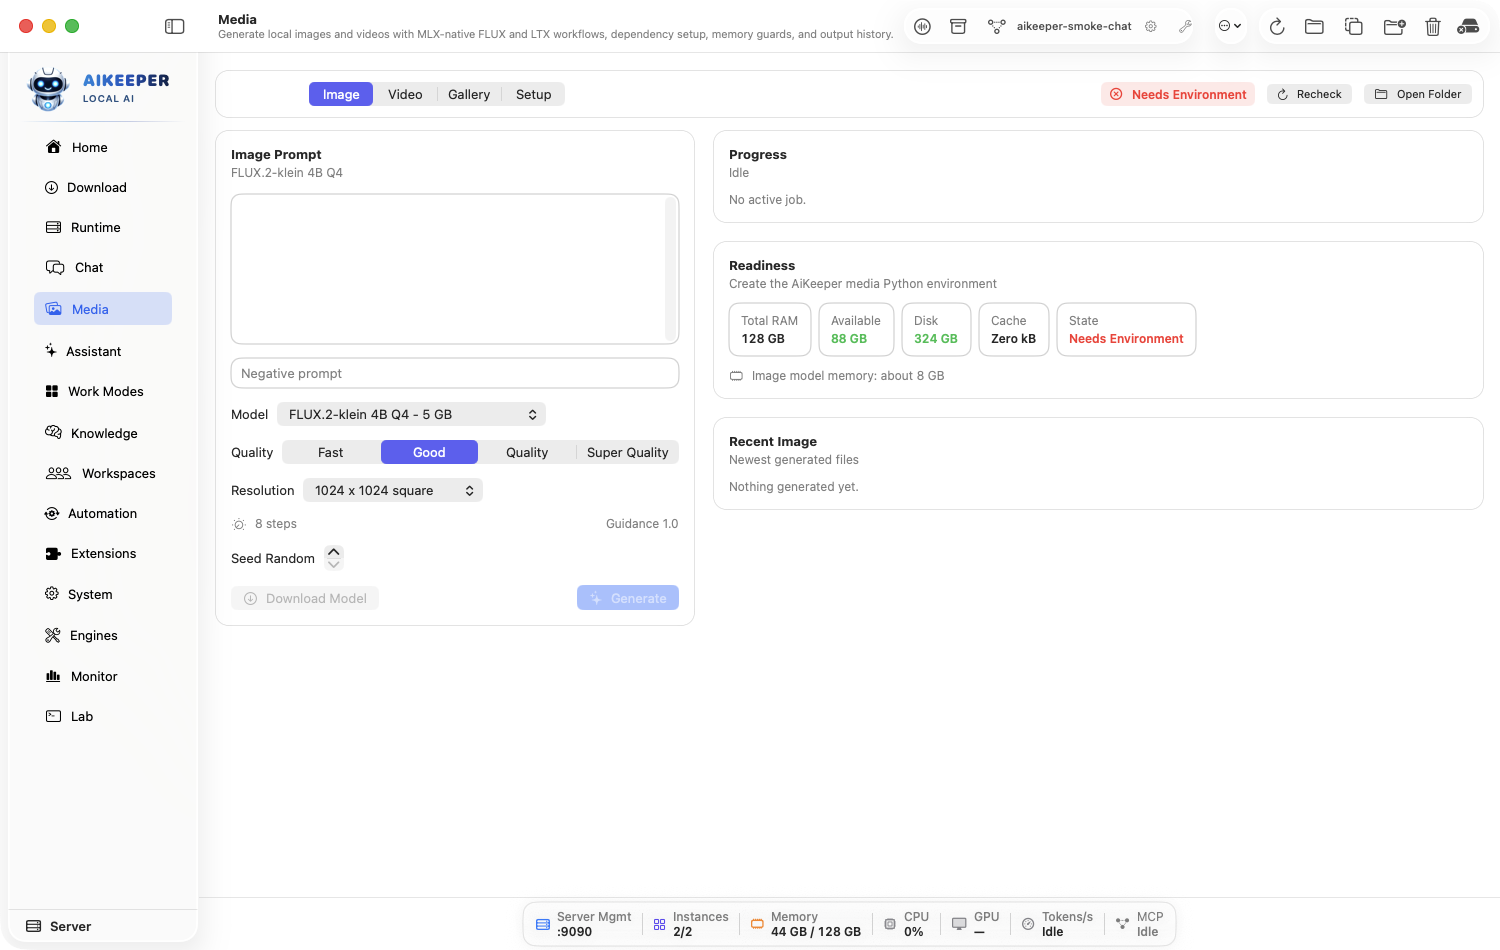
Before you start
- Internet access.
- Free disk space for Python packages and model downloads.
Open Media and use its setup/install action if Media Studio is not ready.
Let Ai Keeper create its managed environment. Do not point it at an unrelated project virtual environment.
If setup fails, inspect the Media output log and use its Repair action.
For video, open Engines and install/verify FFmpeg when prompted.
You are done when
Media reports the managed environment healthy; Image is ready, and Video also reports FFmpeg when installed.Generate a local FLUX image
Use mflux with memory-aware settings and save the result to the local gallery.
Before you start
- Healthy Media Studio.
- A downloaded/supported FLUX.1 or FLUX.2 Klein model.
Open Media, choose Image, and select a supported model.
Write a concrete prompt describing subject, setting, composition, lighting, and style. Start at a modest resolution.
Leave seed random for exploration or set a seed for reproducibility. Keep guidance/quality at defaults for the first run.
Read Memory Guard. Reduce resolution or quality if it warns that the run is too large.
Generate, inspect the image, and save/reveal it from the output gallery.
You are done when
The run completes without memory pressure, the image appears in history, and the saved file opens at the chosen resolution.Add a custom image or video model
Register a local FLUX-compatible or LTX-compatible repository and validate it with a small run.
Before you start
- A complete local compatible repository.
- Its license permits your intended use.
In Media, open Custom Models and add the local repository folder.
Choose whether it is FLUX-compatible image or LTX-compatible video. Do not label an arbitrary checkpoint as compatible.
Review detected files and validation warnings, then save.
Select it and run the smallest supported image resolution or shortest safe video.
Keep it only if the output and logs show a clean load.
You are done when
The model remains selectable after reopening Media and completes a minimal generation without missing-class/weight errors.Generate a short local LTX video
Choose a safe frame count, generate, encode with FFmpeg, and review the clip.
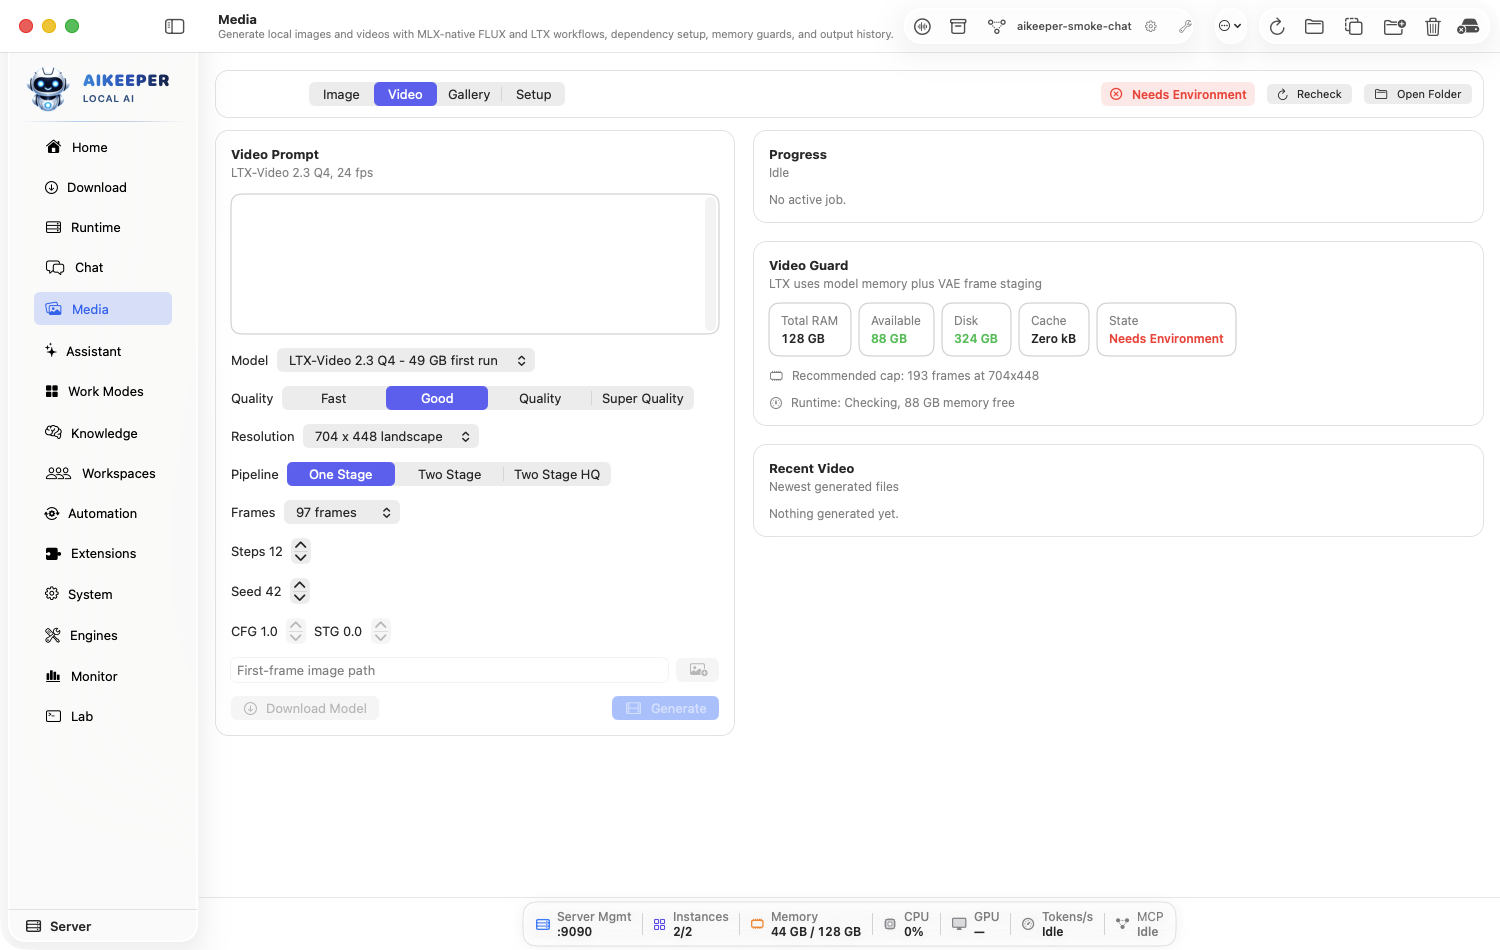
Before you start
- Healthy Media Studio and FFmpeg.
- A supported LTX model.
- Substantial free memory and disk space.
Open Media, choose Video, and select the LTX model.
Write a prompt with one subject, one camera movement, and one short action. Complex scene changes are poor first tests.
Use Video Guard to choose a frame count and resolution that fit. Start with the shortest offered clip.
Generate and keep the app open through model inference and FFmpeg encoding.
Play the result from history and reveal/save the final file.
You are done when
The clip plays with the expected duration and no missing frames or encoding error.Set up wake word and hands-free Talk Mode
Keep recognition on-device, calibrate a real microphone, speak through silence/stall detection, and hear replies with macOS or Kokoro voices.
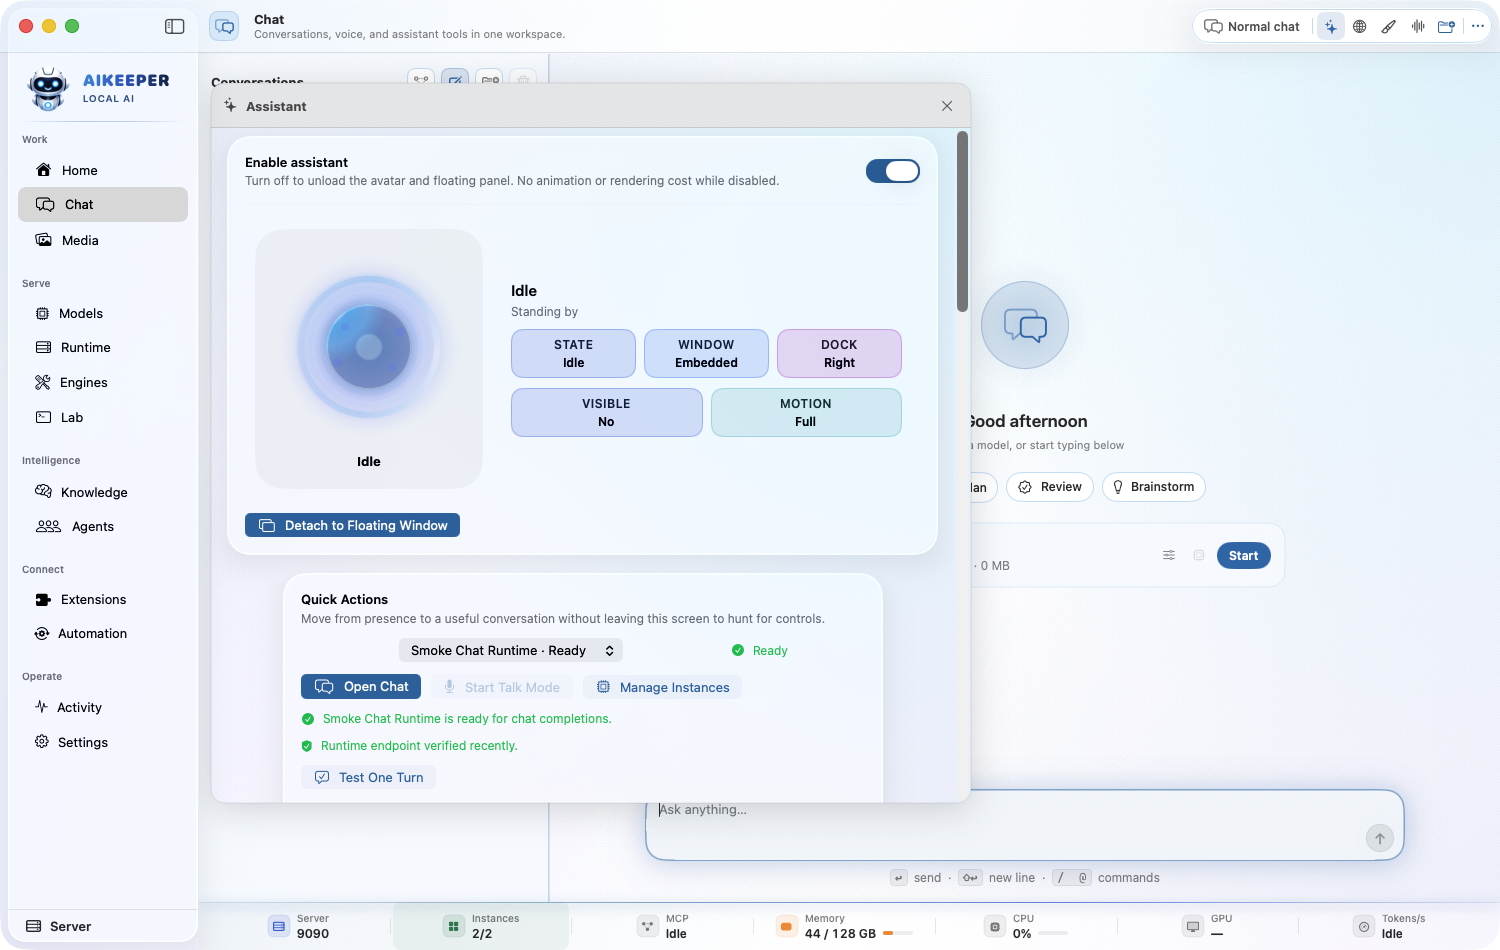
Before you start
- A physical working microphone and speakers/headphones.
- macOS on-device speech recognition available for the selected locale.
- A Ready chat model and either macOS speech or a running Kokoro/audio_tts instance.
Open Chat > Voice and request Microphone and Speech Recognition permissions when prompted.
Click Check devices, Test playback, and Calibrate while speaking a complete sentence. Ai Keeper refuses cloud speech fallback when on-device recognition is unavailable.
If calibration reports digital silence, check macOS input volume, mute state, and remote-desktop audio routing. Do not accept a zero-signal threshold.
Enable wake-word detection, choose a phrase such as Hey Keeper, and confirm the panel says it is listening. Speech after the wake word in the same utterance becomes the first query instead of being discarded.
Choose Hands-Free, then tune Silence Timeout and Silence Sensitivity only after a real sample. A transcript-growth watchdog finalizes speech even when constant room noise prevents the energy detector from seeing silence.
Start Talk Mode, speak a full turn, hear the response, and confirm the microphone reopens after playback.
For local Kokoro speech, use Settings to detect a running TTS instance, choose among 54 voices in nine languages, or blend compatible voices from the same language.
You are done when
Calibration records non-zero speech, the wake word activates one hands-free turn, the transcript finalizes after silence or a stall, the reply is audible, and listening resumes.Grant Screen Capture or Camera access
Enable a visual input only for a vision-capable workflow and verify a real preview.
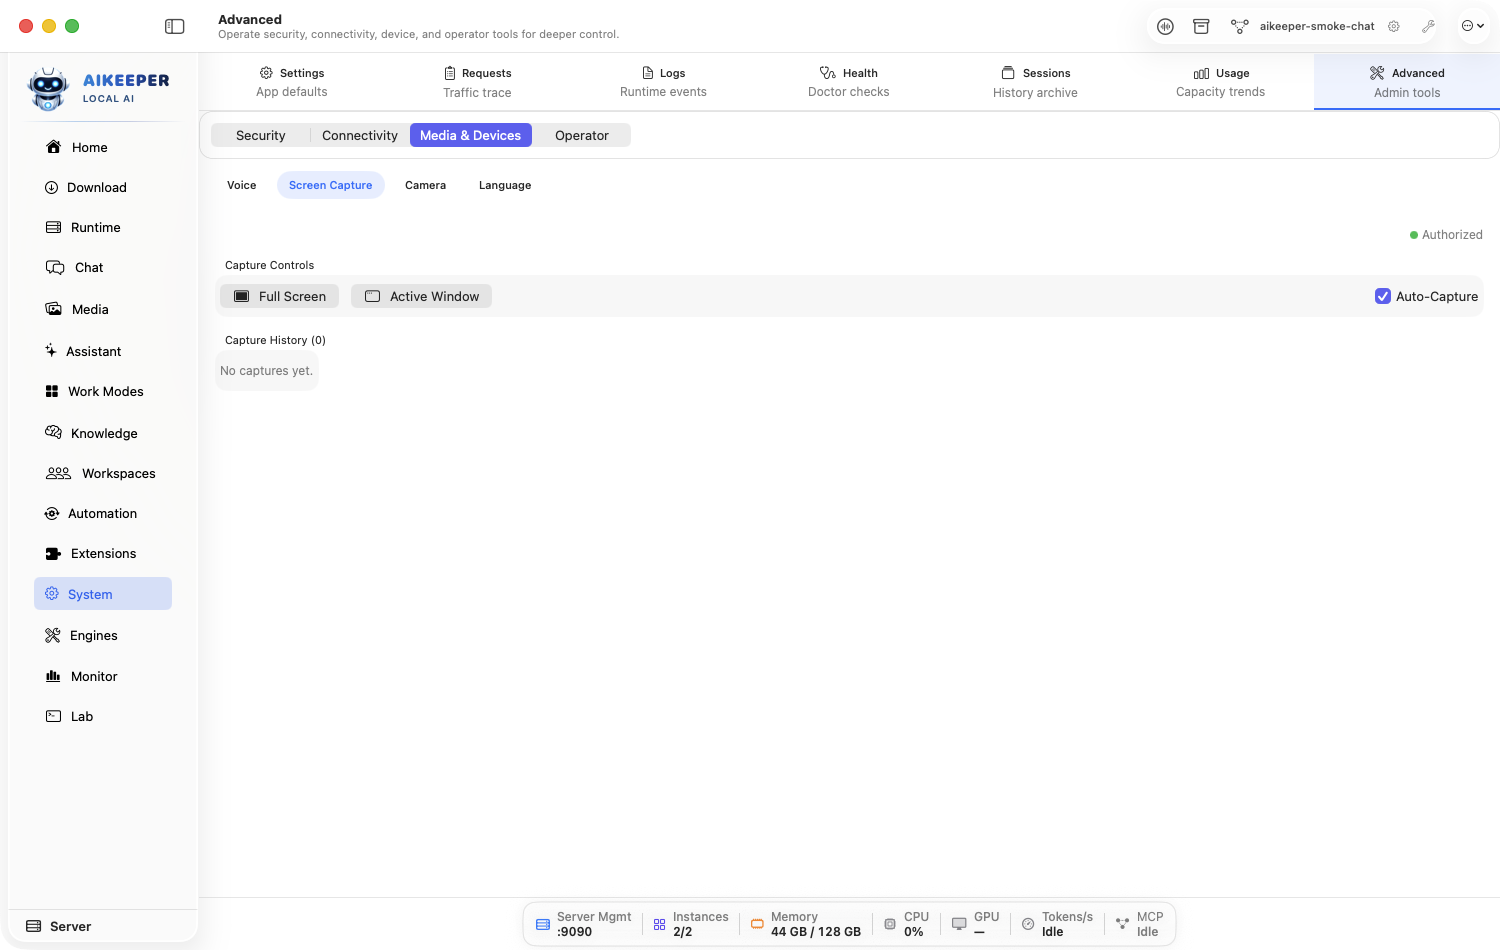
Before you start
- A vision-capable model for interpretation.
- Consent for any people or private content that may appear.
Open Settings, search for Screen Capture or Camera, and open the matching operator panel.
Request the relevant macOS permission. Choose only the display/window or camera needed.
Return to the panel after any required app restart and open the preview.
Use a harmless Chat/Assistant vision prompt to describe a non-sensitive test view.
Stop capture and disable the source when finished.
You are done when
The preview shows the intended source and the vision model describes a visible test detail correctly.Edit part of an existing image
Change one region of a picture you already have — replace an object, fix a detail — while leaving the rest untouched.
Before you start
- Media Studio installed and reporting Ready — see Install or repair Media Studio.
- An image model that supports editing. Plain text-to-image models do not offer these fields.
- The source image on disk, and a copy you are willing to lose.
Open Media and select an Image model that supports editing. The source-image and mask fields only appear for models that can edit — if you cannot see them, the model is text-to-image only.
Fill Source image(s) to edit with the picture you want to change. Use Choose… rather than typing the path.
The preview thumbnail is your confirmation that the app resolved the file. No preview means no valid source.
For a fill/inpaint model, also set Masked image (regions to fill) — a second image marking the area to replace.
The mask is a separate image, not a selection you draw in the app. Make it in any editor: the marked regions are what gets regenerated.
Write the prompt describing what the masked region should become — not the whole picture. Add a Negative prompt for things to avoid.
Set Seed to a fixed number before your first run.
A fixed seed makes the result reproducible, so when you tweak the prompt you can tell whether the change came from your edit or from randomness.
Check Memory Guard, then press Generate. Watch Progress and leave the machine alone on the first run so you learn the honest timing.
Open the result from Output Gallery, or use Reveal in Finder to find the file on disk.
You are done when
Only the masked region changed, the untouched areas are pixel-identical to the source, and re-running with the same seed and prompt reproduces the same result.Remove an image background
Cut the subject out of a photo locally, with no upload and no subscription.
Before you start
- Media Studio reporting Ready.
- A photo with a reasonably distinct subject.
Open Media and choose the Background Removal image model.
This is a different kind of model from FLUX. It does not generate anything — it segments what is already there, so the prompt and negative-prompt fields disappear.
Set Source image with Choose… and confirm the preview thumbnail appears.
Press Remove Background. The button is labelled differently from the usual Generate because the operation is different.
Open the output from Output Gallery and check the edges at full zoom — hair, glasses, and thin objects are where segmentation fails first.
Use Reveal in Finder to get the file, and keep the original: this writes a new file rather than editing in place.
You are done when
The subject is preserved with a transparent or removed background, and the original file is untouched on disk.Animate a still image into a video
Use a picture as the opening frame of a short generated clip instead of starting from text alone.
Before you start
- A working LTX video setup — see Generate a short local LTX video.
- FFmpeg installed. Video is the only surface that requires it.
- Patience: video is far slower than images and the first run downloads weights.
Open Media and switch to Video. Confirm the environment does not say Needs FFmpeg — if it does, install it from the setup section first.
Use Choose first-frame image to set the opening frame. The path appears in First-frame image path, and Clear first-frame image removes it again.
Write the Video Prompt as a description of motion — what should happen — rather than a description of the picture, which the first frame already provides.
Set Resolution and Frames conservatively for the first attempt. Read the Video Guard line: it states the frame cap that actually fits your machine at the chosen resolution.
The cap accounts for model memory plus VAE frame staging. Exceeding what your Mac can hold is the main cause of a failed or crawling run.
Leave CFG and STG at their defaults until you have one clip you like. Change one control at a time afterwards.
Video runs are slow. Changing three settings at once means a 20-minute wait tells you nothing about which one mattered.
Press Generate and watch Progress. Use Cancel active generation if the estimate is longer than you want to wait.
Play the result from Output Gallery, then Reveal in Finder for the file.
You are done when
The clip opens on your chosen image and the motion follows the prompt, at the frame count Video Guard said would fit.Generate a local song with MiniMax Music 3
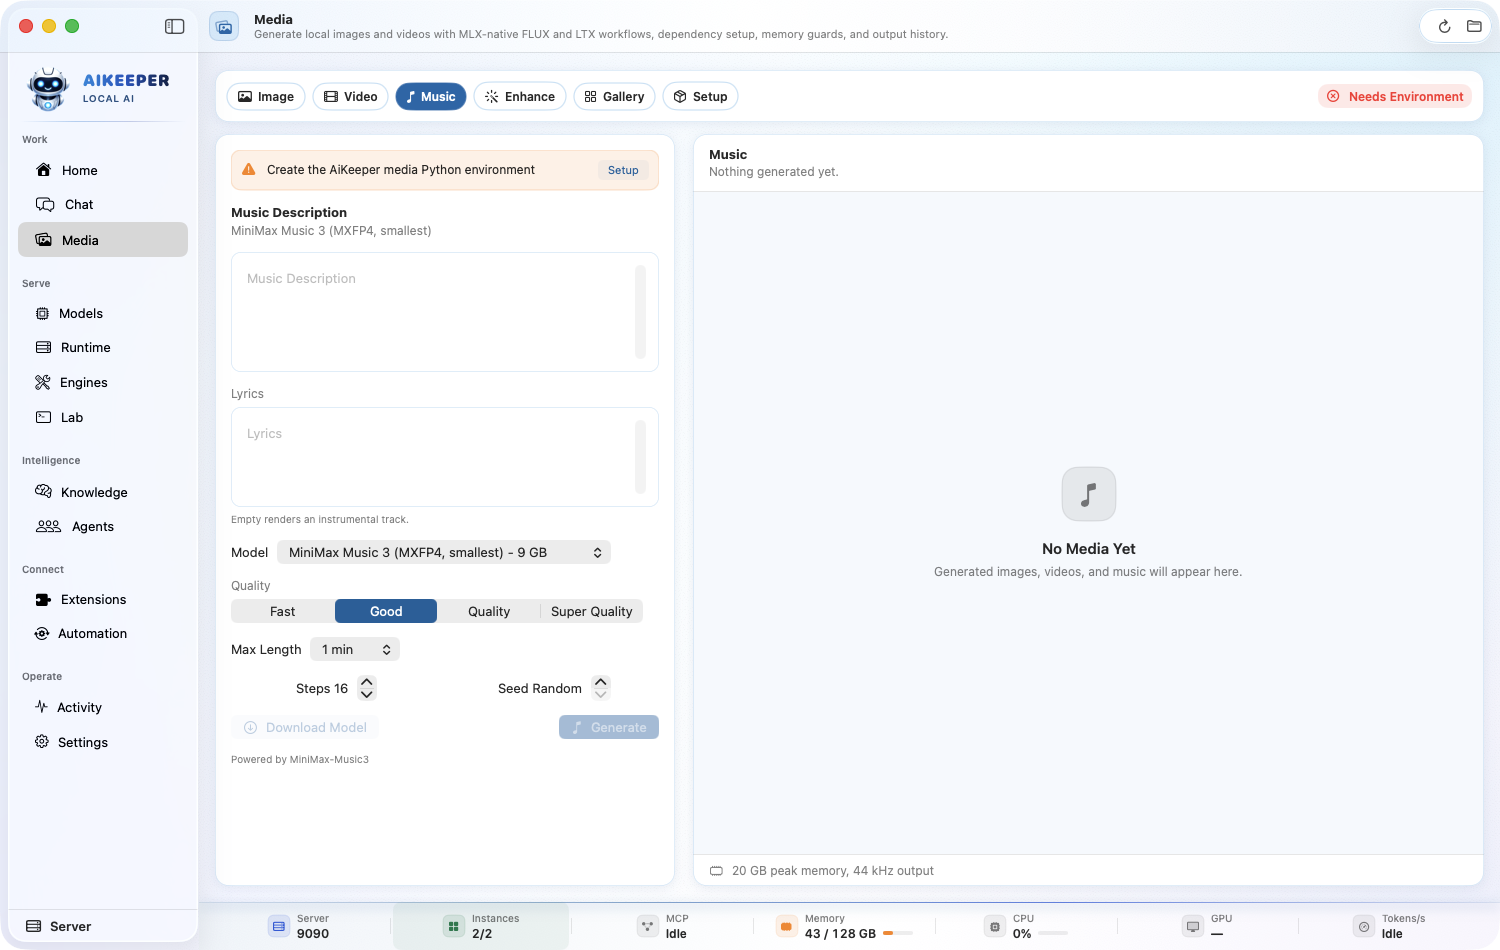
Turn a music description and lyrics into a WAV file through the managed mlx-audio runtime.
Before you start
- Media Studio is ready.
- Enough disk and unified memory for the selected MiniMax Music 3 precision.
Open Media > Music and write a concrete Music Description covering genre, tempo, instrumentation, mood, and vocal character.
Enter lyrics, or choose the instrumental option so the app supplies the non-empty input MiniMax Music 3 requires.
Choose a model precision that fits the Mac. Start with MXFP4 or 4-bit; use the larger variants only when the memory estimate is comfortable and lyric fidelity matters.
Set a conservative length for the first run, generate, and watch the shared progress/queue surface while mlx-audio loads and synthesizes.
Play the result in Media, then use the Gallery or Finder action to keep the WAV and its generation metadata.
You are done when
A WAV file appears in the gallery, plays from the Music surface, and records the selected model, duration, and prompt metadata.Enhance an image locally
Upscale and clean a local image without replacing the original file.
Before you start
- A readable local image.
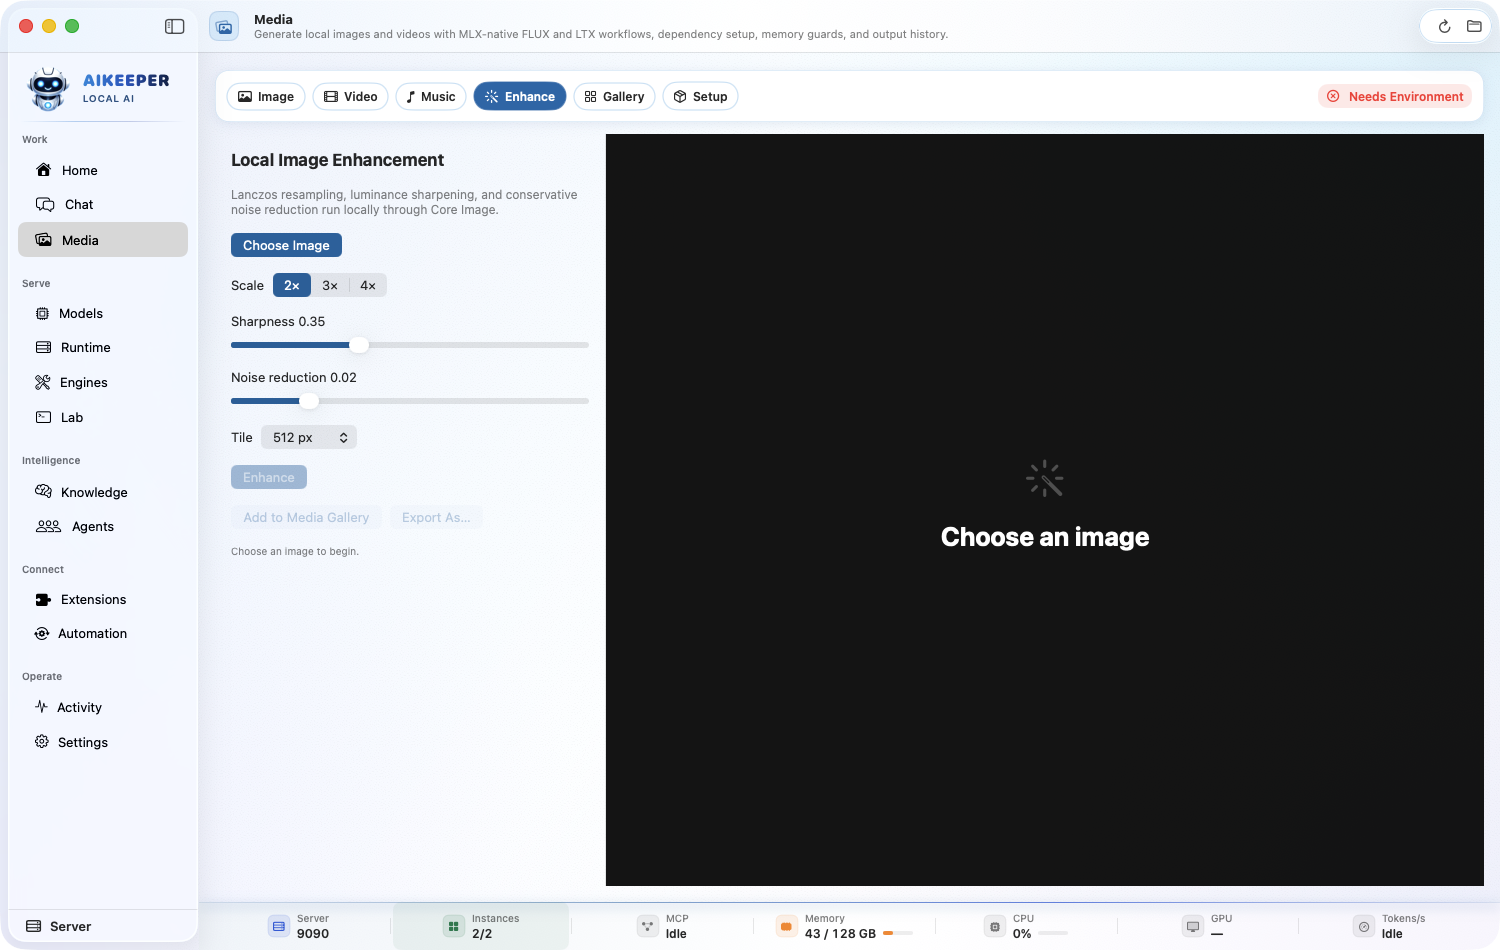
Open Media > Enhance and choose the source image.
Select the scale and available cleanup options, keeping the first test small enough to inspect quickly.
Click Enhance and compare the preview with the source at 100% rather than judging only the fit-to-window view.
Save the enhanced copy and inspect its receipt. The original remains unchanged.
You are done when
The enhanced preview is visible, a new image is saved, and the original file still has its original contents and timestamp.Queue several generations and manage the output
Line up work instead of babysitting one run at a time, and keep the gallery from filling your disk.
Before you start
- Media Studio reporting Ready and at least one successful generation.
Start one generation. While it runs, the Generate button becomes Queue — press it again with different settings to line up the next job.
Media generation is serial by design. Queueing is how you batch overnight work without leaving several models resident at once.
Watch Progress and the active job. Use Remove queued job to drop a single pending item, or Clear queued jobs to empty the queue without touching the running one.
Use Cancel active generation only for the job actually running. Cancelling does not clear what is queued behind it.
Review results in Output Gallery, which lists Newest generated files first. Open output views one; Reveal output in Finder shows it on disk.
Check Model Cache and Disk periodically. Use Delete cached model for generators you no longer use.
Image and video weights are multi-gigabyte. The gallery and the cache both grow without limit — nothing prunes them for you.
You are done when
Queued jobs run one after another, cancelling one does not disturb the others, and the outputs are where the gallery says they are.Repair a broken Media Studio
Work through the fix in order — recheck, repair, then reset — instead of reinstalling everything at the first error.
Before you start
- Media Studio that was working, or a first install that will not reach Ready.
- Enough disk for a fresh environment if the reset is needed.
Open Media and read Readiness and Local Environment before changing anything. They name which piece is missing: Python, Git, Homebrew, or FFmpeg.
Most media failures are one missing dependency, not a corrupt environment. Reading first saves a 20-minute reinstall.
Press Recheck. Status is cached, so a dependency you installed outside the app may simply not have been noticed yet.
If a specific piece is missing, use its own installer — Install Python, Install Git, or Install FFmpeg — rather than a full repair.
Still not Ready? Use Install / Repair and watch Install & Runtime Log. Open Full Log when the summary is not specific enough.
The log is the only place that shows the actual failing command. Screenshots of a red badge cannot be diagnosed; the log can.
Run Image Smoke once repair completes. It is a minimal end-to-end generation that proves the environment works without you composing a real prompt.
Only as a last resort, use Reset Environment and confirm Reset Local Media Environment. This rebuilds the managed Python environment from scratch.
It is safe but slow, and it re-downloads. Everything above is faster and usually enough.
After a reset, re-run Image Smoke before trusting the setup with real work.